For this module I had to build a series of 3-D models for inclusion in a level I had created last term.
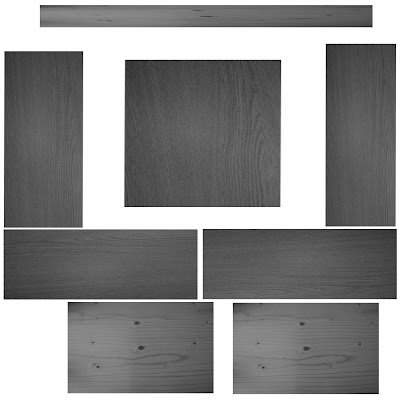
To create a table I first made an oblong using the box geometry in the create tab and added sections to it. I converted the shape to an editable poly and added curves to the sharp edges by using the chamfer tool. I then turned the object upside down in order to add the legs to it. I used the polygon selection tool to highlight the sections in four corners of the shape. I used the inset tool to form the outline for the table legs and I used the extrude tool to stretch the new sections down towards the floor. Once the structure for the object was completed I proceeded to unwrap the model for texturing. I brought in the UVW template into Photoshop and applied wooden textures onto the outlines. Finally I applied the finished texture onto the model in 3-D studio max and transferred it into my level. Overall I am quite happy with the result however I would have liked to have made a more stylish table, if I was more confident with the program.


No comments:
Post a Comment